Laravel
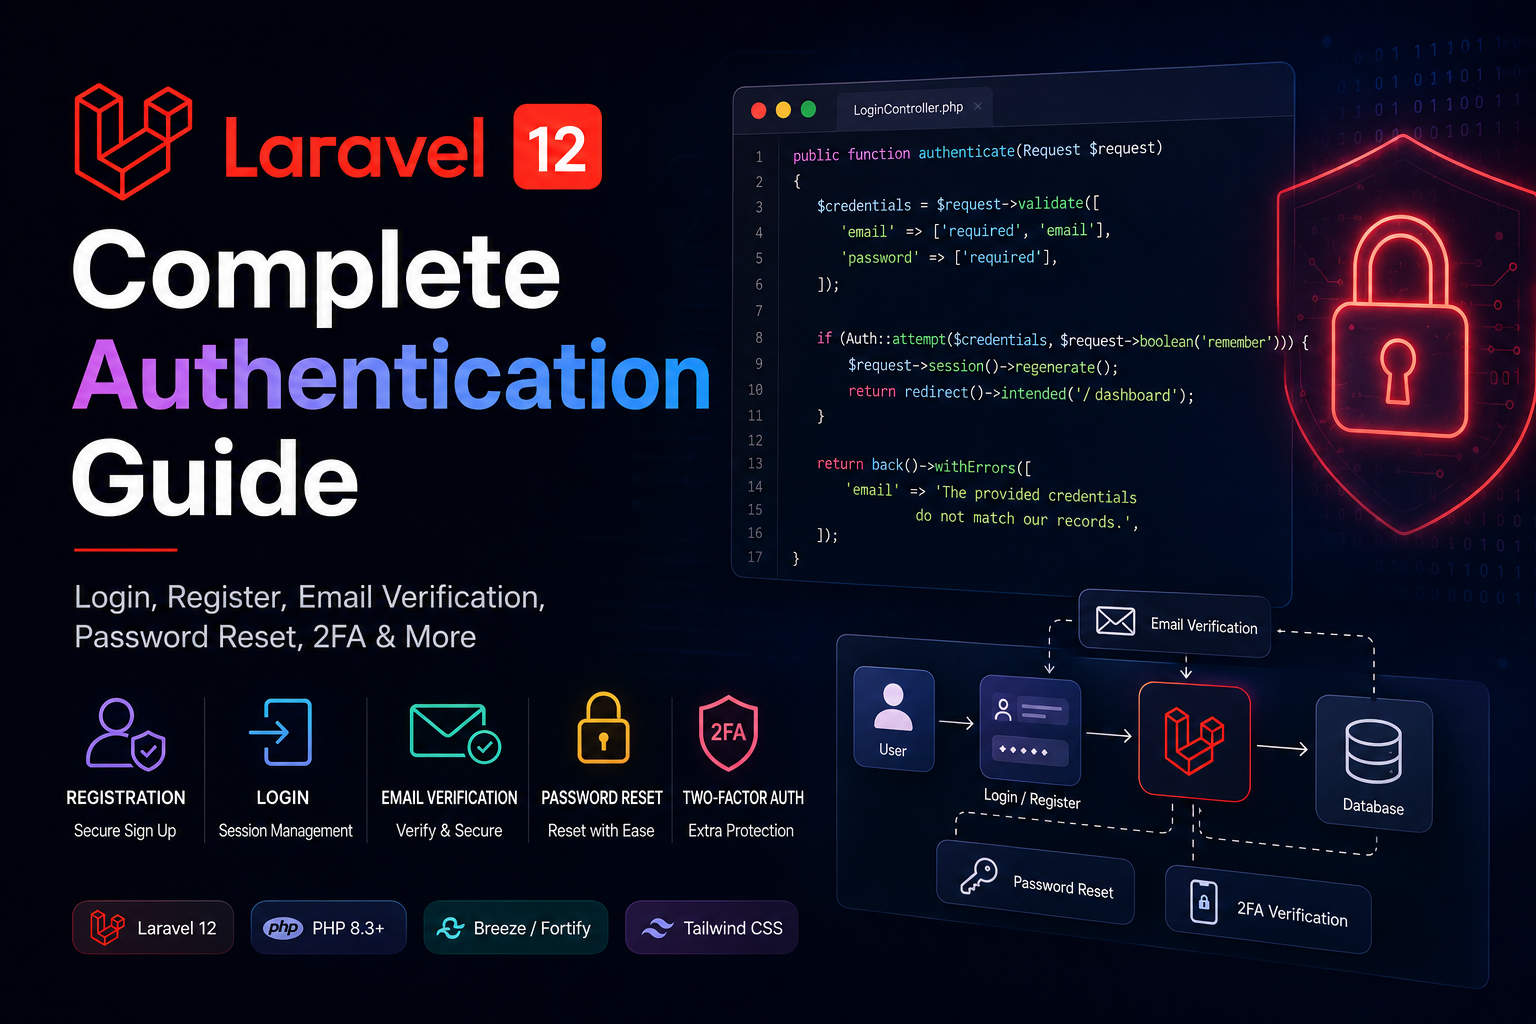
Laravel 12 Complete Authentication Guide: From Setup to Secure Production Auth
Build complete Laravel 12 authentication from scratch: Breeze setup, guards, email verification, role-based access, Sanctum API tokens, and React SPA...
Published 2026-07-25 by Aditya Mandal.
Laravel 12 Complete Authentication Guide: From Setup to Secure Production Auth Authentication is the first thing almost every web application needs, and the first place beginners get stuck. Laravel 12 makes it remarkably fast to stand up secure login, registration, password reset, and email verification — but the defaults only take you so far. In this guide we will build a complete authentication system from scratch, layer on role-based access control, wire up API tokens with Sanctum, and connect a React frontend. Every step includes copy-paste-ready code. What Laravel 12 Gives You Out of the Box Laravel ships with a complete authentication backbone already wired into the framework: a User model, the users table migration, session guards, password hashing with bcrypt, and CSRF protection. What it does not ship with is the UI — the login and registration forms, the password reset emails, the two-factor screens. For that, Laravel offers first-party starter kits. The two most common starters are: Breeze — simple, lightweight, ships Blade, Livewire, or API + Inertia (React/Vue) scaffolding. Jetstream — heavier, includes team management and two-factor auth, also Blade or Livewire/Inertia. For most projects, Breeze is the right starting point. We will use it here. Step 1: Install Laravel and Breeze Create a fresh Laravel 12 project and install the Breeze starter kit with the API scaffolding, which gives us both session auth for web pages and token auth for an API in one shot. The breeze:install api --react command generates the authentication controllers, the auth configuration, the React frontend components, and the database migrations in one go. You now have working registration, login, password reset, and API token generation. Step 2: Understand the Auth Configuration Open
https://adityamandal.dev/blog/laravel-12-complete-authentication-guide/